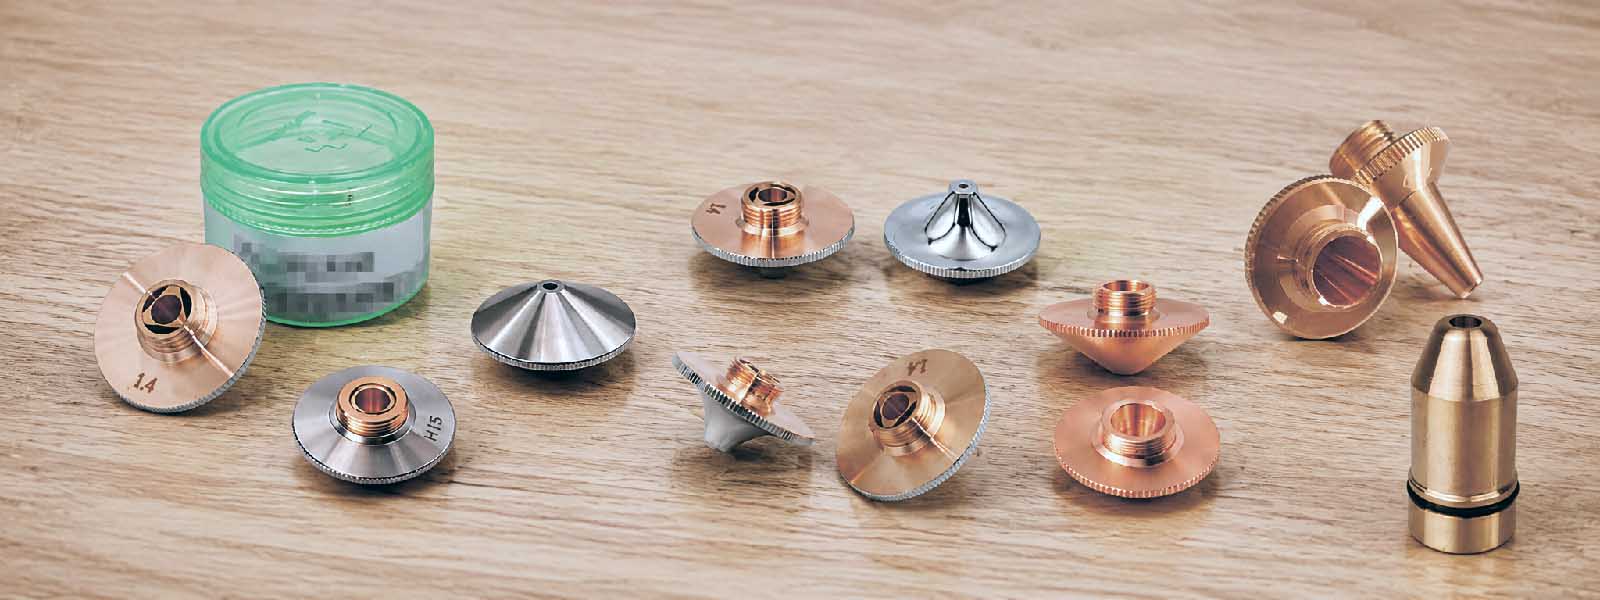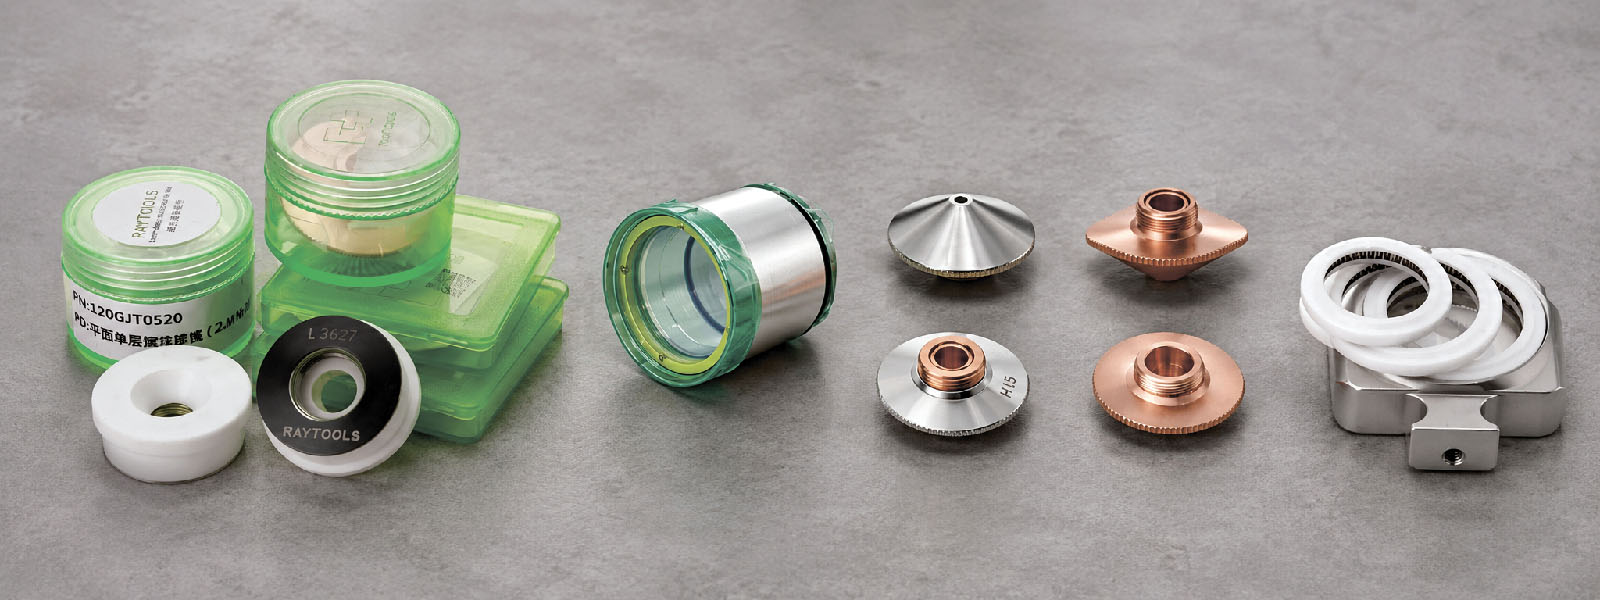
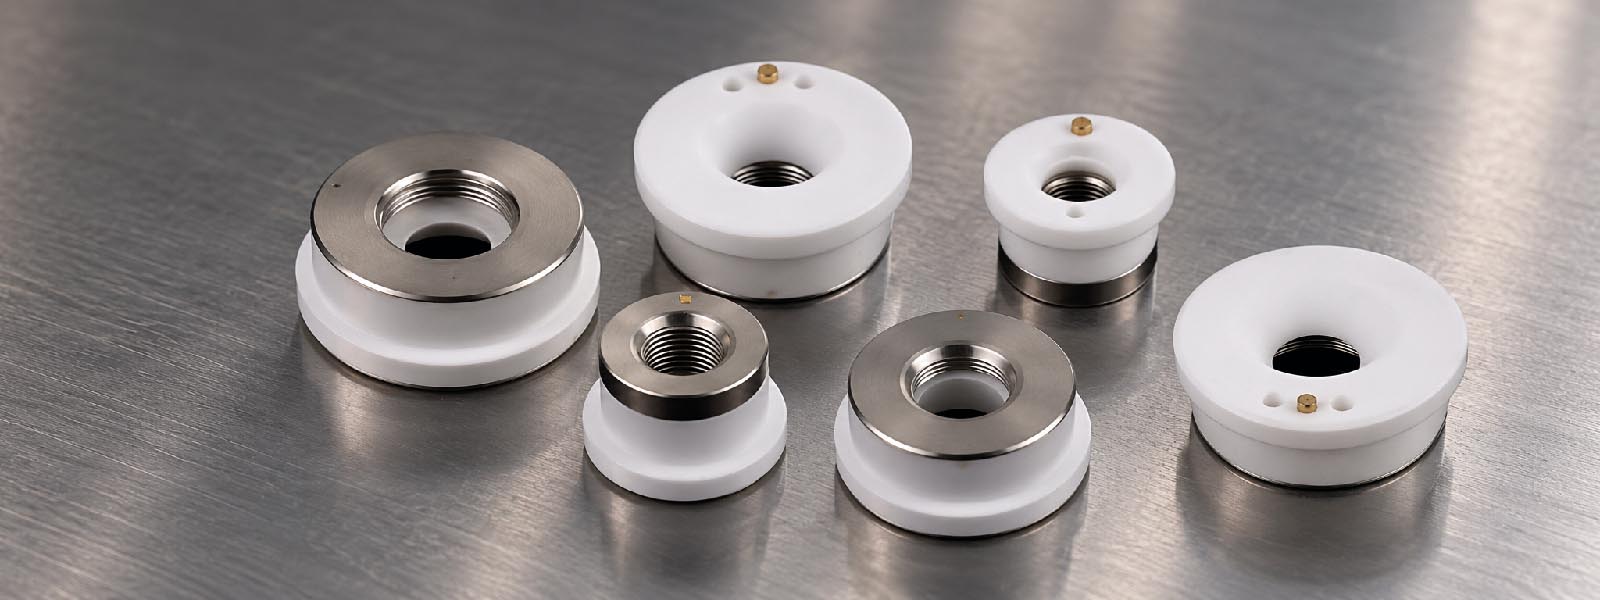
A ceramic ring is a small part of a laser cutting head, but it has a direct effect on cutting stability. It helps position the nozzle, supports stable height sensing and protects the lower part of the head from mechanical and thermal influence.
If the ceramic ring is cracked, dirty, loose or not compatible with the installed nozzle and cutting head, the machine may start cutting unstably even when the laser source and CNC program are correct.
This article explains why correct ceramic ring selection matters, what problems may appear when the wrong part is installed, and what should be checked before replacement.
Why the Ceramic Ring Matters
In a RayTools laser cutting head, the ceramic ring works together with the nozzle, sensor system and lower head assembly. It is not just a mechanical adapter.
The ceramic ring helps keep the nozzle in the correct position. If the nozzle is not seated correctly, assist gas flow may become unstable. This can affect piercing, melt removal and edge quality.
The ceramic ring is also related to height control. If the ring is damaged or does not fit correctly, the machine may show unstable height sensing, nozzle contact with the sheet or repeated calibration problems.
For this reason, ceramic ring selection is part of the cutting process, not only a purchasing task.
What Can Happen with the Wrong Ceramic Ring
A wrong or damaged ceramic ring may create problems that look like cutting parameter errors.
Typical symptoms include:
- unstable piercing;
- burr on the lower edge;
- nozzle touching the sheet;
- unstable height control;
- height sensor errors;
- poor repeatability after nozzle replacement;
- uneven cutting quality in different directions;
- frequent nozzle damage;
- repeated protective window contamination;
- need to recalibrate too often.
If these problems appear after replacing the nozzle or ceramic ring, compatibility and installation should be checked first.
Do not start changing power, speed, focus or gas pressure before checking the ceramic ring, nozzle and calibration.
Ceramic Ring and Nozzle Position
The nozzle must sit correctly in relation to the laser beam and assist gas path. Even a small mechanical mismatch can affect cutting quality.
The ceramic ring influences:
- nozzle seating;
- nozzle alignment;
- distance between nozzle and workpiece;
- stability of height sensing;
- sealing and mechanical connection;
- repeatability after replacement.
If the ceramic ring is not correct for the installed nozzle, the nozzle may look mounted, but it may not sit in the correct position. This can create unstable gas flow or poor centering.
A good nozzle cannot work correctly if it is installed with the wrong ceramic ring.
Compatibility Is More Than Shape
Ceramic rings may look similar, but that does not mean they are interchangeable.
Before choosing a ceramic ring, check:
- RayTools cutting head model;
- nozzle type;
- nozzle thread;
- seating surface;
- height sensing design;
- laser power range;
- machine documentation;
- existing part marking, if available.
Do not select a ceramic ring only by photo. Similar-looking parts may have different dimensions, contact surfaces or installation geometry.
If the machine uses several RayTools heads, do not mix ceramic rings between machines unless compatibility is confirmed.
Signs of a Damaged Ceramic Ring
A ceramic ring should be inspected during regular maintenance and after any head crash.
Check for:
- cracks;
- chips;
- dirt;
- burn marks;
- loose fitting;
- damaged contact surface;
- damaged thread area;
- signs of overheating;
- poor seating with the nozzle;
- unstable connection after installation.
A small crack is not a minor issue. It can affect height sensing and cause repeated cutting problems.
If the ceramic ring was damaged after a collision, do not continue production before checking the nozzle, protective window, centering and calibration.
Common Causes of Ceramic Ring Problems
Ceramic ring failure can happen for several reasons.
Head Collision
A collision between the head and the sheet can damage the nozzle and ceramic ring at the same time. Even if the nozzle is replaced, the ceramic ring may remain cracked or shifted.
After a crash, always inspect both parts.
Incorrect Nozzle Installation
If the nozzle is tightened incorrectly, cross-threaded or installed with contamination, the ceramic ring may be damaged.
Do not use excessive force. If the nozzle does not fit smoothly, stop and check the thread, nozzle type and ceramic ring compatibility.
Contamination
Dust, spatter or small metal particles can affect seating. A dirty ceramic ring can prevent correct nozzle installation and create unstable height sensing.
Clean the seating area according to the service procedure before installing a new part.
Wrong Part Selection
Using a similar but non-matching ceramic ring can create repeated instability. The part may physically fit, but the nozzle position or sensing behavior may be wrong.
Correct selection must be based on the cutting head model and technical compatibility, not only visual similarity.
Ceramic Ring and Height Sensing
Height sensing is critical for stable laser cutting. If the distance between the nozzle and sheet is unstable, the process becomes unstable.
A ceramic ring problem can lead to:
- wrong stand-off distance;
- nozzle touching the sheet;
- unstable piercing height;
- sensor alarms;
- poor cutting on uneven sheets;
- repeated calibration failures.
If height control becomes unstable after replacing consumables, check the ceramic ring before assuming that the sensor system itself is faulty.
After replacing a ceramic ring or nozzle, calibration may be required according to the machine procedure.
Troubleshooting Table
| Symptom | What to check first |
|---|---|
| Height sensor errors | Ceramic ring, nozzle, calibration |
| Nozzle touches the sheet | Ceramic ring seating, height sensing, sheet flatness |
| Piercing became unstable | Nozzle, ceramic ring, focus, gas pressure |
| Burr appears after replacement | Nozzle fit, ceramic ring compatibility, centering |
| Cut quality changed after installing a new nozzle | Ceramic ring, nozzle seating, calibration |
| One side of the cut is worse | Beam centering, nozzle alignment, ceramic ring |
| Protective window gets dirty quickly | Back spatter, nozzle, ceramic ring, stand-off |
| Problems repeat after every nozzle change | Ceramic ring compatibility and installation method |
This table gives first inspection points, not a final diagnosis.
How to Select the Correct Ceramic Ring
Use a simple selection method.
- Identify the cutting head model.
Check the RayTools head model from the nameplate, documentation or existing service records. - Identify the nozzle type.
Check nozzle thread, design, diameter and seating surface. - Check the existing ceramic ring.
Look for markings, dimensions and visible design features. - Check compatibility.
Confirm that the ceramic ring is suitable for the head model and nozzle type. - Inspect before installation.
Do not install a part with cracks, chips, dirt or damaged contact surfaces. - Install carefully.
Avoid excessive force and make sure the nozzle sits correctly. - Calibrate and test.
After replacement, check height sensing, centering and test cut quality before production.
Common Mistakes
Choosing only by visual similarity.
Ceramic rings may look almost the same but still have different geometry or compatibility.
Ignoring small cracks.
A small crack can create unstable height sensing and repeated cutting defects.
Replacing the nozzle but not checking the ceramic ring.
If the ceramic ring is damaged, a new nozzle may not solve the problem.
Mixing parts from different head models.
Similar parts from different RayTools head series should not be mixed without confirmation.
Overtightening the nozzle.
Excessive force can damage the ceramic ring or seating surface.
Changing cutting parameters too early.
If the problem started after consumable replacement, inspect the mechanical fit first.
What to Check Before Ordering
Before ordering a replacement ceramic ring, collect:
- RayTools cutting head model;
- photo of the existing ceramic ring;
- photo of the nozzle;
- nozzle type and thread;
- laser power;
- machine model;
- main materials and thicknesses;
- description of the problem;
- photos of the cut edge, if quality is poor.
Clear information helps avoid wrong part selection and repeated downtime.
If the machine uses more than one cutting head model, build a separate consumables list for each head. Do not assume that ceramic rings are interchangeable.
Basic Maintenance Rules
Use these rules during daily operation and maintenance:
- inspect the ceramic ring before each shift;
- check it after every head collision;
- replace cracked or chipped parts;
- keep ceramic rings clean and dry;
- do not mix parts from different head models;
- check nozzle fit before production;
- recalibrate when required;
- keep several spare ceramic rings for each installed head model;
- record repeated failures;
- check compatibility before ordering.
A ceramic ring is not expensive compared with machine downtime or damaged optics. Keeping the correct spare parts near the machine is a practical way to reduce production risk.
Conclusion
Correct ceramic ring selection affects cutting stability because the ceramic ring works together with the nozzle, height sensing system and lower part of the laser cutting head.
A wrong, cracked or poorly installed ceramic ring can cause unstable height control, nozzle contact, poor piercing, burrs, repeated calibration problems and inconsistent cut quality.
Before changing cutting parameters, inspect the nozzle, ceramic ring, protective window, gas supply and calibration. In many cases, stable cutting depends not on a complex adjustment, but on correct consumable selection and careful installation.
For RayTools laser cutting heads, ceramic rings should always be selected by exact head model, nozzle type and confirmed compatibility.