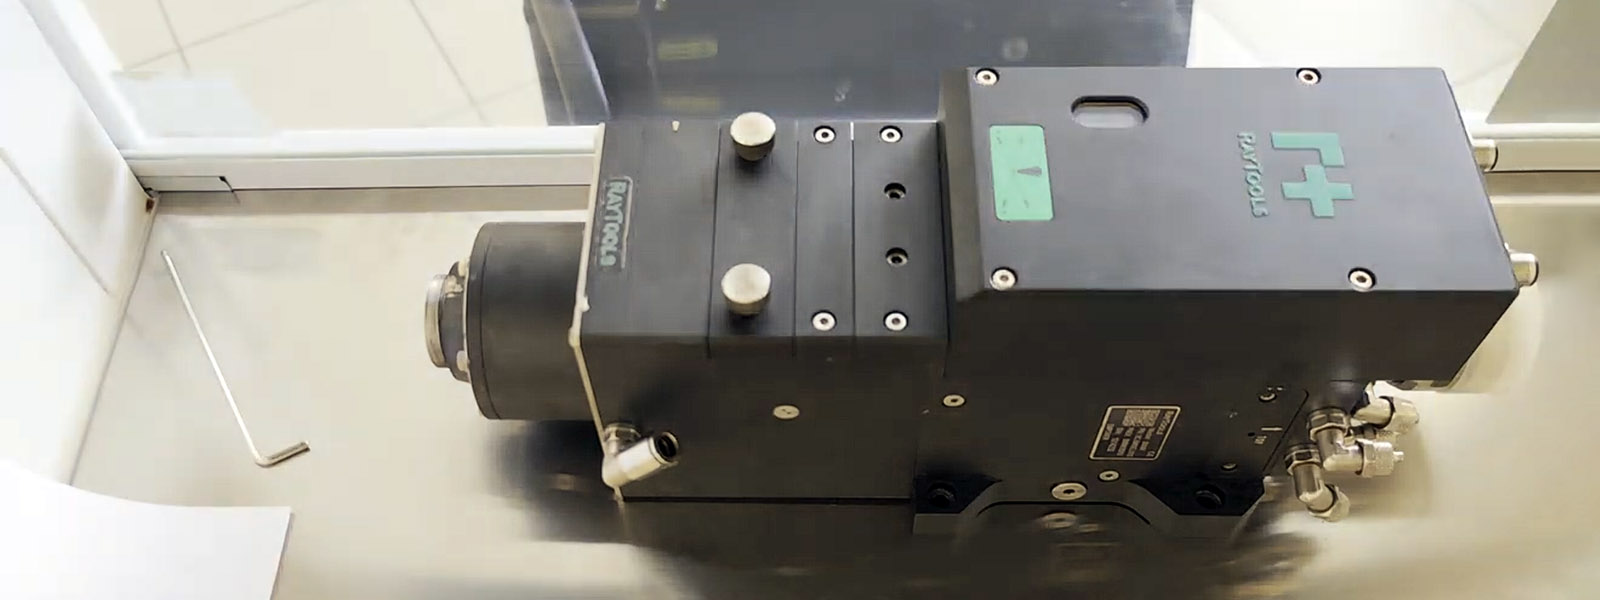
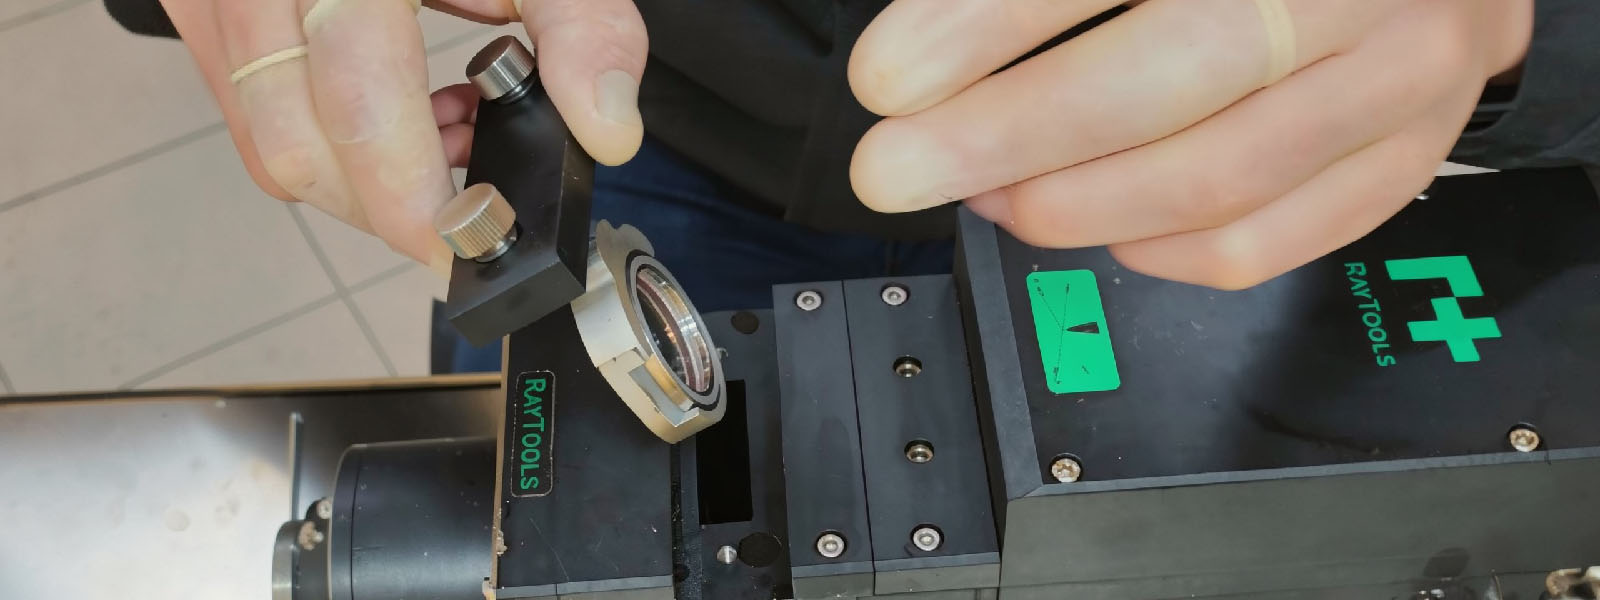
A laser cutting head works close to heat, metal spatter, smoke, dust and high-pressure assist gas. Even a small problem with the nozzle, ceramic body, protective window, gas supply or cooling can quickly affect cutting quality.
Regular maintenance helps prevent unstable cutting, damaged consumables, optical contamination and unexpected machine downtime. The exact procedure always depends on the RayTools head model, machine configuration, laser power and production conditions. However, the basic inspection logic is similar for most fiber laser cutting systems.
This checklist is written for operators, maintenance engineers and production teams who need a practical routine before and during production.
Why Regular Maintenance Matters
A laser cutting head should be inspected before cut quality becomes unstable, not only after several failed parts.
Many cutting problems start from simple causes:
- damaged nozzle;
- dirty protective window;
- cracked ceramic body;
- unstable gas pressure;
- poor cooling;
- loose cable or connector;
- wrong calibration after consumable replacement;
- mechanical impact after a head crash.
If these problems are not found early, the operator may start changing cutting parameters: speed, focus, gas pressure or power. This can hide the real cause and make troubleshooting longer.
Good maintenance starts with a basic rule: inspect consumables and head condition before changing process settings.
What Should Be Checked
A basic RayTools cutting head inspection should include:
- nozzle;
- ceramic body or ceramic ring;
- protective window;
- gas path;
- cooling water connections;
- height sensing system;
- cables and connectors;
- head body and mounting;
- signs of collision or overheating.
Internal optical inspection should only be done by trained personnel and in clean conditions. Do not open optical parts in a dirty workshop area if the manual or service procedure requires a clean workspace.
Daily Pre-Shift Checklist
Before each shift, make a short visual inspection.
| Check point | What to inspect | Why it matters |
|---|---|---|
| Nozzle | Hole shape, spatter, thread, overheating | Affects gas flow and edge quality |
| Ceramic body | Cracks, dirt, loose fitting | Affects height sensing and stability |
| Protective window | Dust, stains, burn marks | Protects internal optics |
| Gas supply | Correct gas, stable pressure | Affects piercing and melt removal |
| Cooling | Water flow, leaks, alarms | Prevents overheating |
| Cables | Loose or damaged connectors | Prevents signal errors |
| Head body | Crash marks, loose parts | Prevents mechanical failure |
This inspection does not take much time, but it can prevent many repeated cutting problems.
Nozzle Maintenance
The nozzle controls assist gas flow into the cutting zone. If the nozzle is damaged, dirty or not centered, cutting quality may become unstable.
Check the nozzle for:
- round and clean hole;
- damaged edge of the hole;
- metal spatter inside or outside;
- damaged thread;
- signs of overheating;
- correct diameter and type;
- correct fit with the ceramic body and cutting head.
Possible signs of nozzle problems:
- burr on the lower edge;
- unstable piercing;
- different cutting quality in different directions;
- high gas consumption;
- burn marks on the nozzle;
- frequent protective window contamination.
Do not clean the nozzle with hard tools that can damage the hole geometry. If the hole is deformed or the nozzle is hit by the laser beam, replace the nozzle.
Ceramic Body Inspection
The ceramic body is not just a mechanical holder. It helps keep the nozzle in position and is connected with the height sensing system.
Check the ceramic body for:
- cracks;
- chips;
- dirt;
- loose installation;
- damaged contact surfaces;
- compatibility with the installed nozzle.
A damaged ceramic body can cause unstable height control, nozzle contact with the sheet, sensor errors and unstable piercing.
After replacing the ceramic body or nozzle, check calibration according to the machine procedure.
Protective Window Inspection
The protective window protects internal optics from dust, smoke, spatter and back reflection. If it becomes dirty or damaged, it can heat up and affect beam quality.
Check the protective window for:
- dust;
- stains;
- dark spots;
- burn marks;
- rainbow-like contamination;
- scratches;
- damaged seals;
- dirty seating area.
If there is only light dust, cleaning may be possible with correct optical cleaning materials. If there are burn marks, deep contamination or visible damage, replace the protective window.
Never touch optical surfaces with bare fingers. Fingerprints can create local heating and contamination.
Gas Path and Assist Gas Quality
Assist gas is part of the cutting process. If gas flow is unstable, replacing nozzles again and again may not solve the problem.
Check:
- correct gas type for the cutting program;
- stable pressure during piercing and cutting;
- no pressure drop at the start of cutting;
- no leaks at fittings and hoses;
- clean and dry compressed air, if air cutting is used;
- condition of filters and dryer;
- no oil or water in the gas line.
Unstable gas can cause burrs, poor piercing, rough edge quality and repeated contamination of the protective window.
Cooling System Check
Cooling problems may not look like a cutting head problem at first. But overheating can affect stability and damage components.
Check:
- chiller temperature;
- water flow;
- no leaks;
- no bent hoses;
- clean water according to machine requirements;
- no temperature alarms;
- no air pockets in the cooling circuit;
- tight water connections.
Possible symptoms of cooling problems include repeated alarms, unstable cutting after some time, overheating of the head body or changing cut quality during long operation.
Beam Centering and Focus
A good nozzle will not help if the beam is not centered through the nozzle hole.
Poor centering can cause:
- burr mainly on one side;
- different edge quality in different directions;
- unstable piercing;
- nozzle heating;
- nozzle damage;
- good cutting in one direction and poor cutting in another.
Check beam centering after nozzle replacement, ceramic body replacement or head crash. Focus adjustment should be done according to the machine procedure and cutting database. Do not change focus values randomly without test cuts and reference parameters.
After-Crash Inspection
A head crash can damage more than the nozzle. Even if the head looks normal from outside, inspection is required.
After a collision:
- Stop the machine.
- Inspect the nozzle.
- Inspect the ceramic body.
- Check the protective window.
- Check the head body and mounting.
- Check cables and height sensing.
- Check beam centering.
- Perform calibration if required.
- Make a test cut before production.
Never continue production after a crash without inspection. A small mechanical shift can cause repeated cutting defects or damage other components.
Common Maintenance Mistakes
Cleaning damaged parts instead of replacing them.
Cleaning cannot restore nozzle geometry or optical quality of a damaged window.
Touching optical surfaces by hand.
Fingerprints and dust can create heating and contamination.
Ignoring small cracks in ceramic parts.
A small crack can cause height sensing instability.
Using non-matching consumables.
Similar-looking nozzles or ceramic bodies may not be compatible with the installed head.
Changing cutting parameters before inspection.
Sometimes the real cause is a dirty window, damaged nozzle, gas leak or calibration problem.
Quick Troubleshooting Table
| Symptom | What to check first |
| Burr appears suddenly | Nozzle, gas pressure, protective window |
| Piercing became unstable | Nozzle, focus, gas, protective window |
| One side of cut is worse | Beam centering, nozzle damage |
| Height sensor errors | Ceramic body, nozzle, calibration |
| Protective window gets dirty quickly | Back spatter, nozzle, stand-off, piercing settings |
| Cutting quality drops after some time | Cooling, window heating, gas stability |
| Nozzle touches the sheet | Height sensing, ceramic body, calibration, sheet flatness |
This table gives first inspection points, not final diagnosis.
What to Record Before Service Support
Good maintenance records reduce troubleshooting time. Record the following information:
- RayTools cutting head model;
- machine model;
- laser power;
- material and thickness;
- assist gas;
- nozzle type and diameter;
- protective window condition;
- ceramic body condition;
- error messages;
- photos of the nozzle and cut edge;
- when the problem started;
- what was changed before the problem appeared.
This helps separate a consumable problem from a machine setting, gas supply issue or optical problem.
Basic Maintenance Schedule
| Frequency | Maintenance action |
| Before each shift | Inspect nozzle, ceramic body, protective window, gas pressure and cooling status |
| After nozzle replacement | Check seating, centering and calibration if required |
| After head crash | Inspect nozzle, ceramic, window, body and height sensing |
| Weekly | Check spare consumables, connectors, hoses, filters and maintenance log |
| When cut quality drops | Inspect consumables and gas before changing cutting parameters |
Conclusion
Basic maintenance of a RayTools laser cutting head starts with simple checks: nozzle, ceramic body, protective window, gas supply, cooling and calibration.
These parts work as one system. A damaged nozzle can affect gas flow. A cracked ceramic body can affect height sensing. A dirty protective window can affect beam quality. Poor gas or cooling can make the process unstable.
Regular inspection reduces downtime, protects expensive components and helps keep cutting quality stable.
Stable laser cutting is usually the result of small routine checks done before a serious problem appears.